On-file Payments
On-file Payments
Cash App Pay has the ability to support an on-file grant (Cashtag on file) for a Customer. This means that the on-file grant can be charged when the Customer makes future purchases.
This makes future purchases easier and quicker for the Customer, since they do not have to add their payment information and validate that information every time they make a transaction.
On-file payment flow
Step 1: Generate an on-file grant via Pay Kit
To create an on-file grant, you must specify an on-file payment action when creating the customer request. This action must include a scope ID and optionally an account reference ID.
See more information on Scope ID and Account Reference ID in Important Terms.
Example
If a valid on-file grant exists and a Cash App Customer approves a new on-file grant flow with the same Scope and Account Reference ID, the same Grant ID will be returned by the approved grant flow.
Step 2: Save Customer and grant information
An on-file grant cannot be retrieved via API. Therefore, on-file grants should always be stored at the time of grant creation; otherwise, the customer will have to generate a new on-file grant.
You can retrieve Customer and Grant information if you have a valid customer_id and grant_id. Relevant customer information includes a customer’s Cashtag and relevant grant information includes grant status and expiration date.
If you are also saving a Customer’s Cashtag, note that Cashtags are not static and can be changed up to 3 times. Ensure that Cashtags are correct by subscribing to
customer.updatedwebhooks. Cashtags are not considered PII and should be displayed in your checkout flow and in the customer’s account settings. See our brand guidelines for more details.
Suggested disclaimer copy for $Cashtag on-file
Cash App Pay suggests that you add this disclaimer when a customer selects $Cashtag on-file for payment:
By continuing, you authorize
{{Merchant Name}}to debit your Cash App account for this payment and future payments in accordance with{{Merchant Name}}’s terms, until this authorization is revoked. You can change this authorization anytime in your Cash App Settings.
Step 3: Authorize an on-file payment
Once an on-file grant has been successfully created, you can immediately use the grant to authorize a payment or simply save the grant for use in the future.
Step 4: Revoking an on-file grant
Once an on-file grant is created, it can be used to create payments on behalf of the Customer for 10 years. If, for whatever reason the grant needs to be revoked, you can use the revoke customer grant endpoint to prevent the grant from being used for future payments.
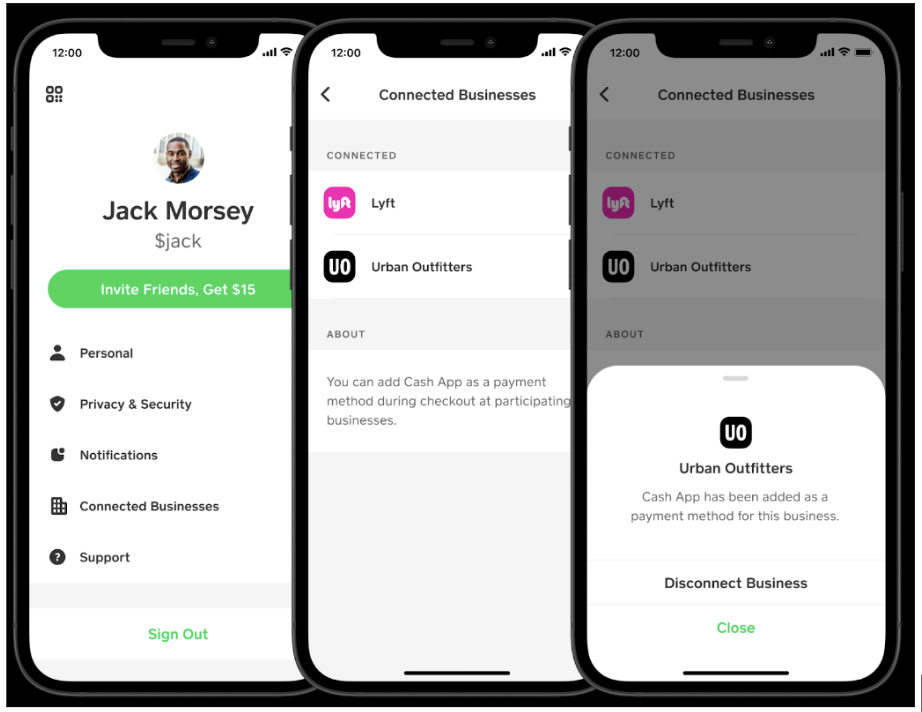
Also, a Customer can remove the businesses with whom they have active on-file grants. Cash App provides grant.status.updated webhooks to alert Partners when any change to the on-file grant happens.
Important terms
Scope ID
The scope of an on-file grant determines which Merchants have the ability to authorize a payment with the grant. The scope_id can be set to one of these:
- Client: The grant from a Client-scoped on-file action can be used to create a payment for any Merchant owned by the Client.
- Client example: A PSP provides a hosted wallet solution where Customers can save payment methods on-file and use these payment methods to seamlessly checkout with Merchants supported by the PSP.
- Brand: The grant from a Brand-scoped on-file action can be used to create a payment for any Merchant that has a matching Brand ID.
- Brand example: A specific Merchant wants to support Cashtag on-file for their customers.
Account Reference ID
The Account Reference ID represents the identifier of the Account or Customer associated with the on-file action. Attempting to create a new on-file grant with the same Scope but different Account Reference ID will result in a new unique on-file grant.
Example: A Cash App Customer and their partner have separate accounts on a popular e-commerce website. They both want to save the same Cash App account on-file for their separate accounts. Account reference ID allows the e-commerce website to generate a unique on-file grant for each of these customer accounts - each grant can be managed independently and access can be revoked for one account without removing access to the other.
Merchant eligibility
Reach out to the Partner Engineering team or your Cash App Point of Contact to check if you are eligible to set up $Cashtag on-file payments for your Customers.