Add a Cash App Afterpay Banner to Shopify
Banners display Cash App Afterpay information at the top of your Shopify page, as shown in the images below.
To add a Cash App Afterpay banner, you must edit your store’s code. Before proceeding, ensure that:
-
The Afterpay US payment app is already installed and running on your online store
-
You have chosen a banner that aligns with the guidelines
Recommendation
You are changing your online store’s code, so be careful. We recommend you create a duplicate page and only publish it once you have verified the changes.Steps to Add the Banner
-
Click Actions and select Edit Code from the drop-down menu.
-
Scroll down to Sections and click Add a new section.
-
In the Create a new section called field enter cash-app-afterpay-banner. The cash-app-afterpay-banner.liquid tab appears.
-
Delete the code that populates the cash-app-afterpay-banner.liquid tab.
Add the Liquid file
-
Click the link to the banner code snippet.
-
Click the Copy to Clipboard button.
-
Paste the banner code snippet into the cash-app-afterpay-banner.liquid tab.
-
Click Save.
Editing the Theme Liquid file
-
Open the
theme-liquidfile. -
Locate the line
{% sections 'header-group' %}or{% section 'header' %}. -
Add
{% section 'cash-app-afterpay-banner' %}above this line. In the example below, it is added to line 4: -
Click Save.
To verify the changes, click Preview and check for the banners appearance at the top of the page.
The images below illustrate a white, black, and green banner:


Changing the Banner Color
To change the banner color:
-
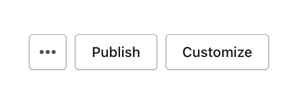
Login to your Shopify Admin and navigate to your Theme Settings page: Go to Online Store> Themes.
-
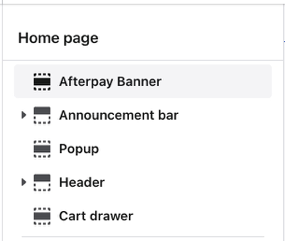
Click Customize to change the theme with the Cash App Afterpay Banner.
-
Click Cash App Afterpay Banner.
-
Click Banner color.
-
Select Black, White, or Green.

-
Click Save.
Brand Assets
For more examples and information on brand assets, including banners, see the Brand Assets section of this guide.