Shopify Afterpay On-Site Messaging App
Shopify Afterpay On-Site Messaging App
Important
You cannot use the Afterpay On-site Messaging App to add Cash App Afterpay at checkout. Instead, follow the instructions on the Add Afterpay at Checkout page.Important
Before you install and configure the Afterpay On-Site Messaging App, make sure you already added Cash App Afterpay at checkout on your Shopify store. Ensure Cash App Afterpay is visible at checkout and functioning before you attempt anything with the Afterpay On-Site Messaging App. You cannot use the Afterpay On-Site Messaging App without first adding Cash App Afterpay at checkout successfully.-
Install the Afterpay On-site Messaging App - A procedure to install the app
-
Add the Messaging to the Product Pages - Instructions on how to add the messaging to the Product Pages
-
Add the Messaging to the Cart Page - Instructions on how to add the messaging to the shopping Cart Page
-
Adjust the Style of Messaging - This covers things like text alignment, margins, text color, logo types, display for mobile devices, and more
-
Make Mobile View Adjustments - Adjust the style of messaging for mobile devices
-
Hide Messaging from Some Products - Select products that you don’t want to associate with Afterpay Messaging
Install the Afterpay On-site Messaging App
Do the following:
-
Click the link to download and install the Afterpay On-Site Messaging app from the Shopify App Store.
-
Click Install. An installation screen on Shopify’s admin portal appears.
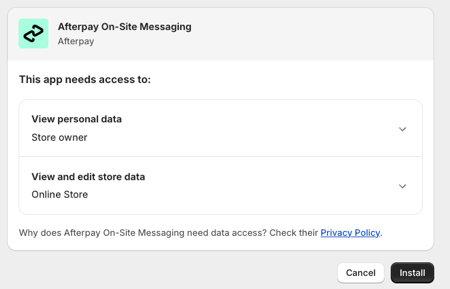
-
Click Install.
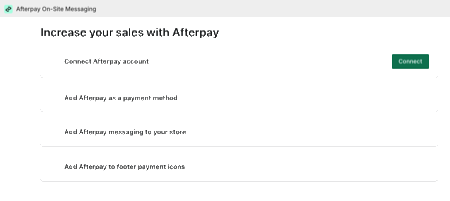 If you clicked Install and your screen doesn’t show the Connect button, your Cash App Afterpay account is already fully registered. You can skip steps 4 to 7 (inclusive) below and go straight to the Add the Messaging to the Product Pages section.
 -
Click Connect next to Connect the Cash App Afterpay account. You are taken to a get.afterpay.com URL, where the email is prefilled with the email on your Shopify store.
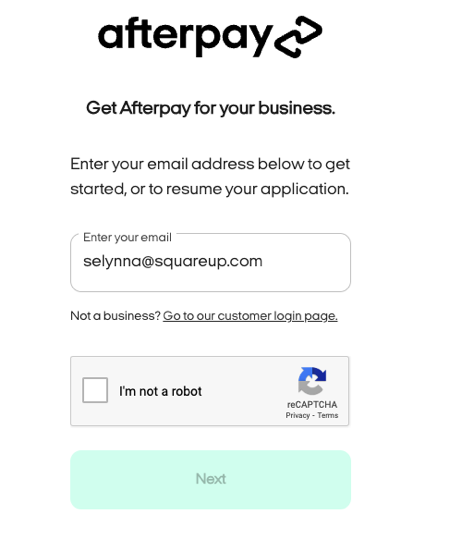
-
Send the email and Cash App Afterpay will email you a login link to the Cash App Afterpay dashboard.
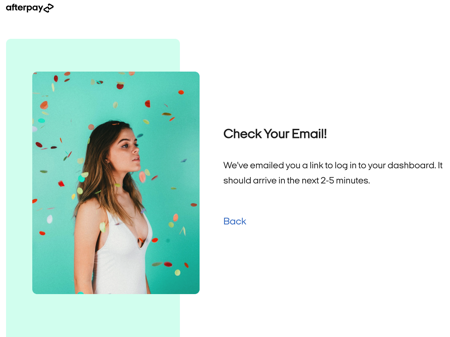
-
Login to your Cash App Afterpay dashboard and ensure you have completed all the registration steps.
-
When Cash App Afterpay registration is complete, click the Show me how button under Add Afterpay messaging, at the bottom of the get.afterpay.com status page.

Add the Messaging to the Product Pages
-
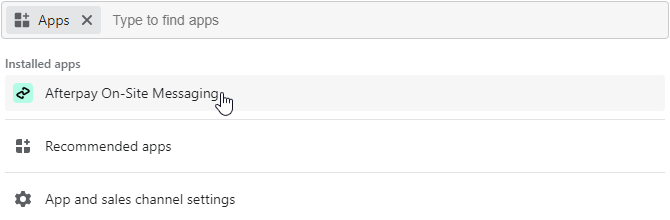
Once it is installed, you need to open the Afterpay On-Site Messaging app. To do this, go to Shopify Admin. Then go to Apps and select Afterpay On-Site Messaging.
-
From the app’s Add Messaging section, click Open Theme Editor.

-
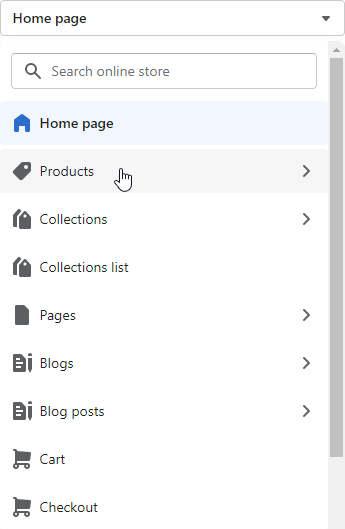
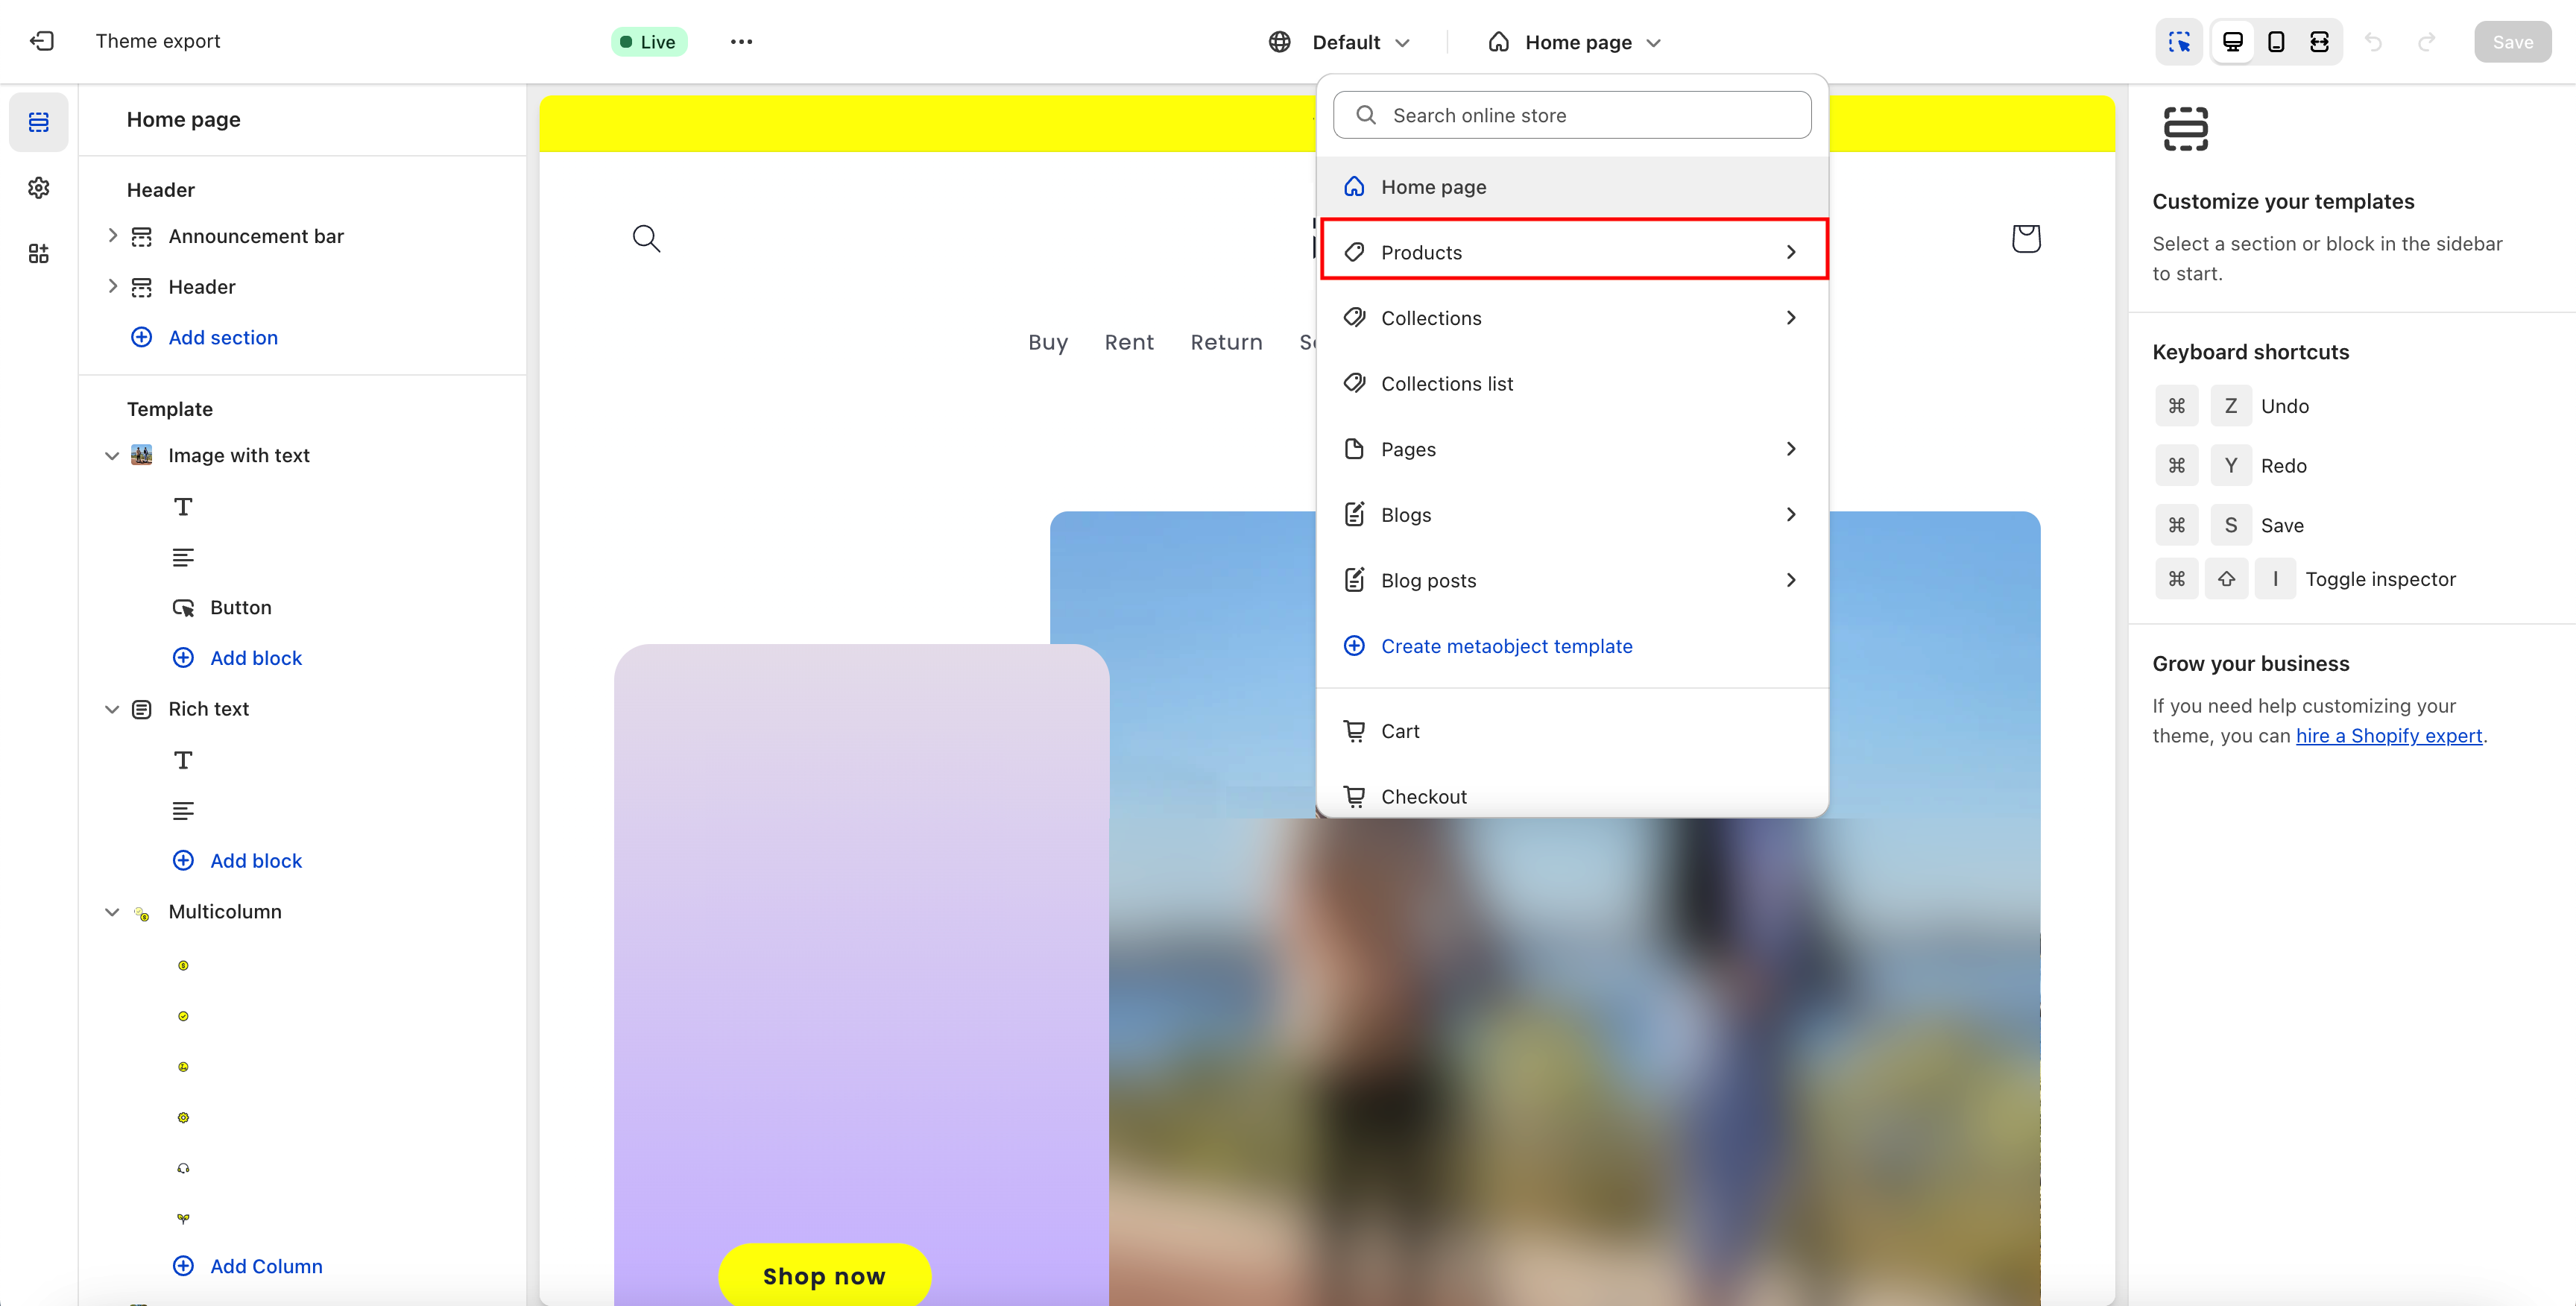
From the Theme editor, click the dropdown at the top of the editor, then click Products.
-
Select the Default product template, or the Product template that needs messaging.

How Messaging Works
Messaging works on Product Page templates. So if you have a single Product Page template, you add messaging to that template. If you have several different Product Page templates, then you’ll need to add messaging to each one separately.
-
Move your mouse over the Product price, a + symbol appears.

-
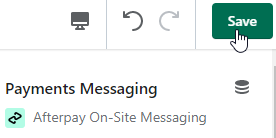
Click Add block and then select Payments Messaging - Afterpay On-Site Messaging.
Your product page should now look like this:

-
Click Save in the top right corner.
Add the Messaging to the Cart Page
-
For an accurate Cart page preview, click Add to cart.
-2.png)
-
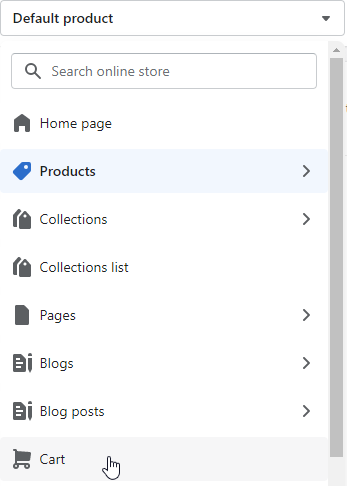
Next, to open the Cart page, click the dropdown at the top of the editor and click Cart.
-
Move the mouse over the Subtotal above the Checkout button. A + symbol appears.

-
Click Add Block and select Afterpay On-Site Messaging.
-
If the text alignment is wrong, adjust the text alignment. To do this, click the Text Alignment dropdown and select a new alignment option.

Mobile View
You can set a separate alignment for display on mobile devices.
Do the following:
-
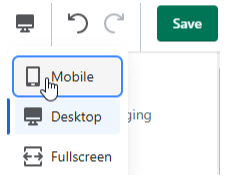
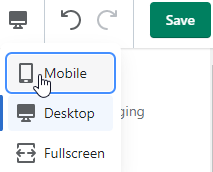
To check the appearance on a mobile device, click the monitor icon and then click Mobile at the top right of the editor.
-
Scroll down to Mobile View settings, make any changes you need.
-
Click Save in the top right corner.
-
Verify your messaging and alignment on your live store.
You can adjust various aspects of the page for mobile devices. See the Mobile View Adjustments section below for more details.
Adjust the Style of Messaging
You can adjust many aspects of the styling. To do this:
-
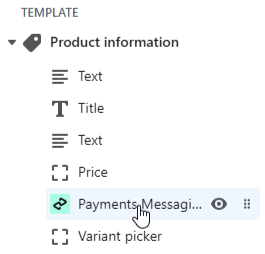
Select the Payments Messaging - Afterpay On-Site Messaging block on the Product page.

Alternatively you can select Payments Messaging - Afterpay On-Site Messaging from the side bar under Product information. See picture below:
Text Alignment
To adjust the text alignment:
-
Click the Text Alignment dropdown and select a new alignment option.

Margins
To adjust the margins above and below the messaging:
-
Enter a new value into the Margin Top field.
-
Enter a new value into the Margin Bottom field.
Negative values are allowed.
Text Color
To adjust the text color:
-
Click the Text Color color-picker and select the new text color.

Text Size
To adjust the text size:
-
Click the Text Size dropdown and select a new text size option, extra small, small, medium and large.

Text
To adjust the intro text:
-
Click the *Intro Text dropdown and select a new intro text option.

Show/Hide “Interest Free”
To show or hide the interest-free phrase:
-
Enable or disable the Show “interest-free” checkbox.

The default value is enabled - the phrase interest-free appears to your customers. In the picture above, the checkbox is blank, so no interest-free message appears to your customers.
Payment Amount
To show or hide the payment amount in bold:
-
Enable or disable the Bold Payment Amount checkbox.

The default value is enabled - the payment amount is in bold. In the picture above, the checkbox is blank, so the payment amount does not appear in bold to your customers.
Show/hide “with”
The word “with” appears between the price and the Cash App Afterpay logo or badge. See the Logo Type below. To show or hide the word “with” do the following:
-
Enable or disable the Show “with” checkbox.

The default value is enabled - the word “with” appears between the price and the Cash App Afterpay logo or badge. In the picture above, the checkbox is blank, so the word with does not appear to your customers.
Logo Type
To set the logo type:
-
Click the Logo Theme dropdown and select a new logo type.

Logo Theme
To set the theme of the logo:
-
Click the Logo Theme dropdown and select the new logo theme you want.

Modal Link Style
When a customer clicks on the modal link, a pop-up window appears with more information about Cash App Afterpay. The default symbol for the modal link is a circled info icon ⓘ.
To change or hide the modal link:
-
Click the Modal Link Style dropdown and select the new modal link option.

Outside Order Limits Messaging
The outside order limits messaging is a message displayed when the product price is outside the limits for Cash App Afterpay.
The default for these limits is 4,000.00 at present.
To adjust the outside order limits messaging:
-
Disable the Show Lower Limit checkbox to hide the lower limit.
-
Disable the Show Upper Limit checkbox to hide the upper limit.
-
Disable the Show If Outside Limits checkbox to hide outside order limits messaging completely.

Mobile View Adjustments
You can set the styling separately for customers on mobile devices. To set the styling for mobile devices, do the following:
-
Click the monitor icon near the Save button.
-
Click the Mobile button that appears.
Breakpoint
To adjust the screen width that defines the mobile view:
-
In the Breakpoint field, enter a new number in pixels.

Text Alignment
To adjust the text alignment for a mobile view:
-
Click the Text Alignment dropdown and select a new alignment option.

Margins
To adjust the margins above and below the messaging on a mobile view:
-
Enter a new number, this can be a negative number, into the Margin Top or Margin Bottom fields.

Footer Payment Icon
To place a payment icon on the footer (bottom) of the payment page, see the Footer Payment Icon section in the Shopify FAQ
Hide Messaging from Some Products
When you have enabled the On-Site Messaging App, you can also hide Afterpay Messaging from certain products. To do this, use the Theme Editor to create a new template. Next you go to the Product section and choose the products that you don’t want associated with messaging. Then you assign these selected product(s) to the new template and make sure no messaging is applied to that template.
To create the template:
-
Go to the On-Site Messaging App.
-
Open the Theme Editor.
-
Click the Home Page dropdown, and then select Products. See the picture below:
-
Select Create Template.
-
Enter a name for this new template. See the picture below:
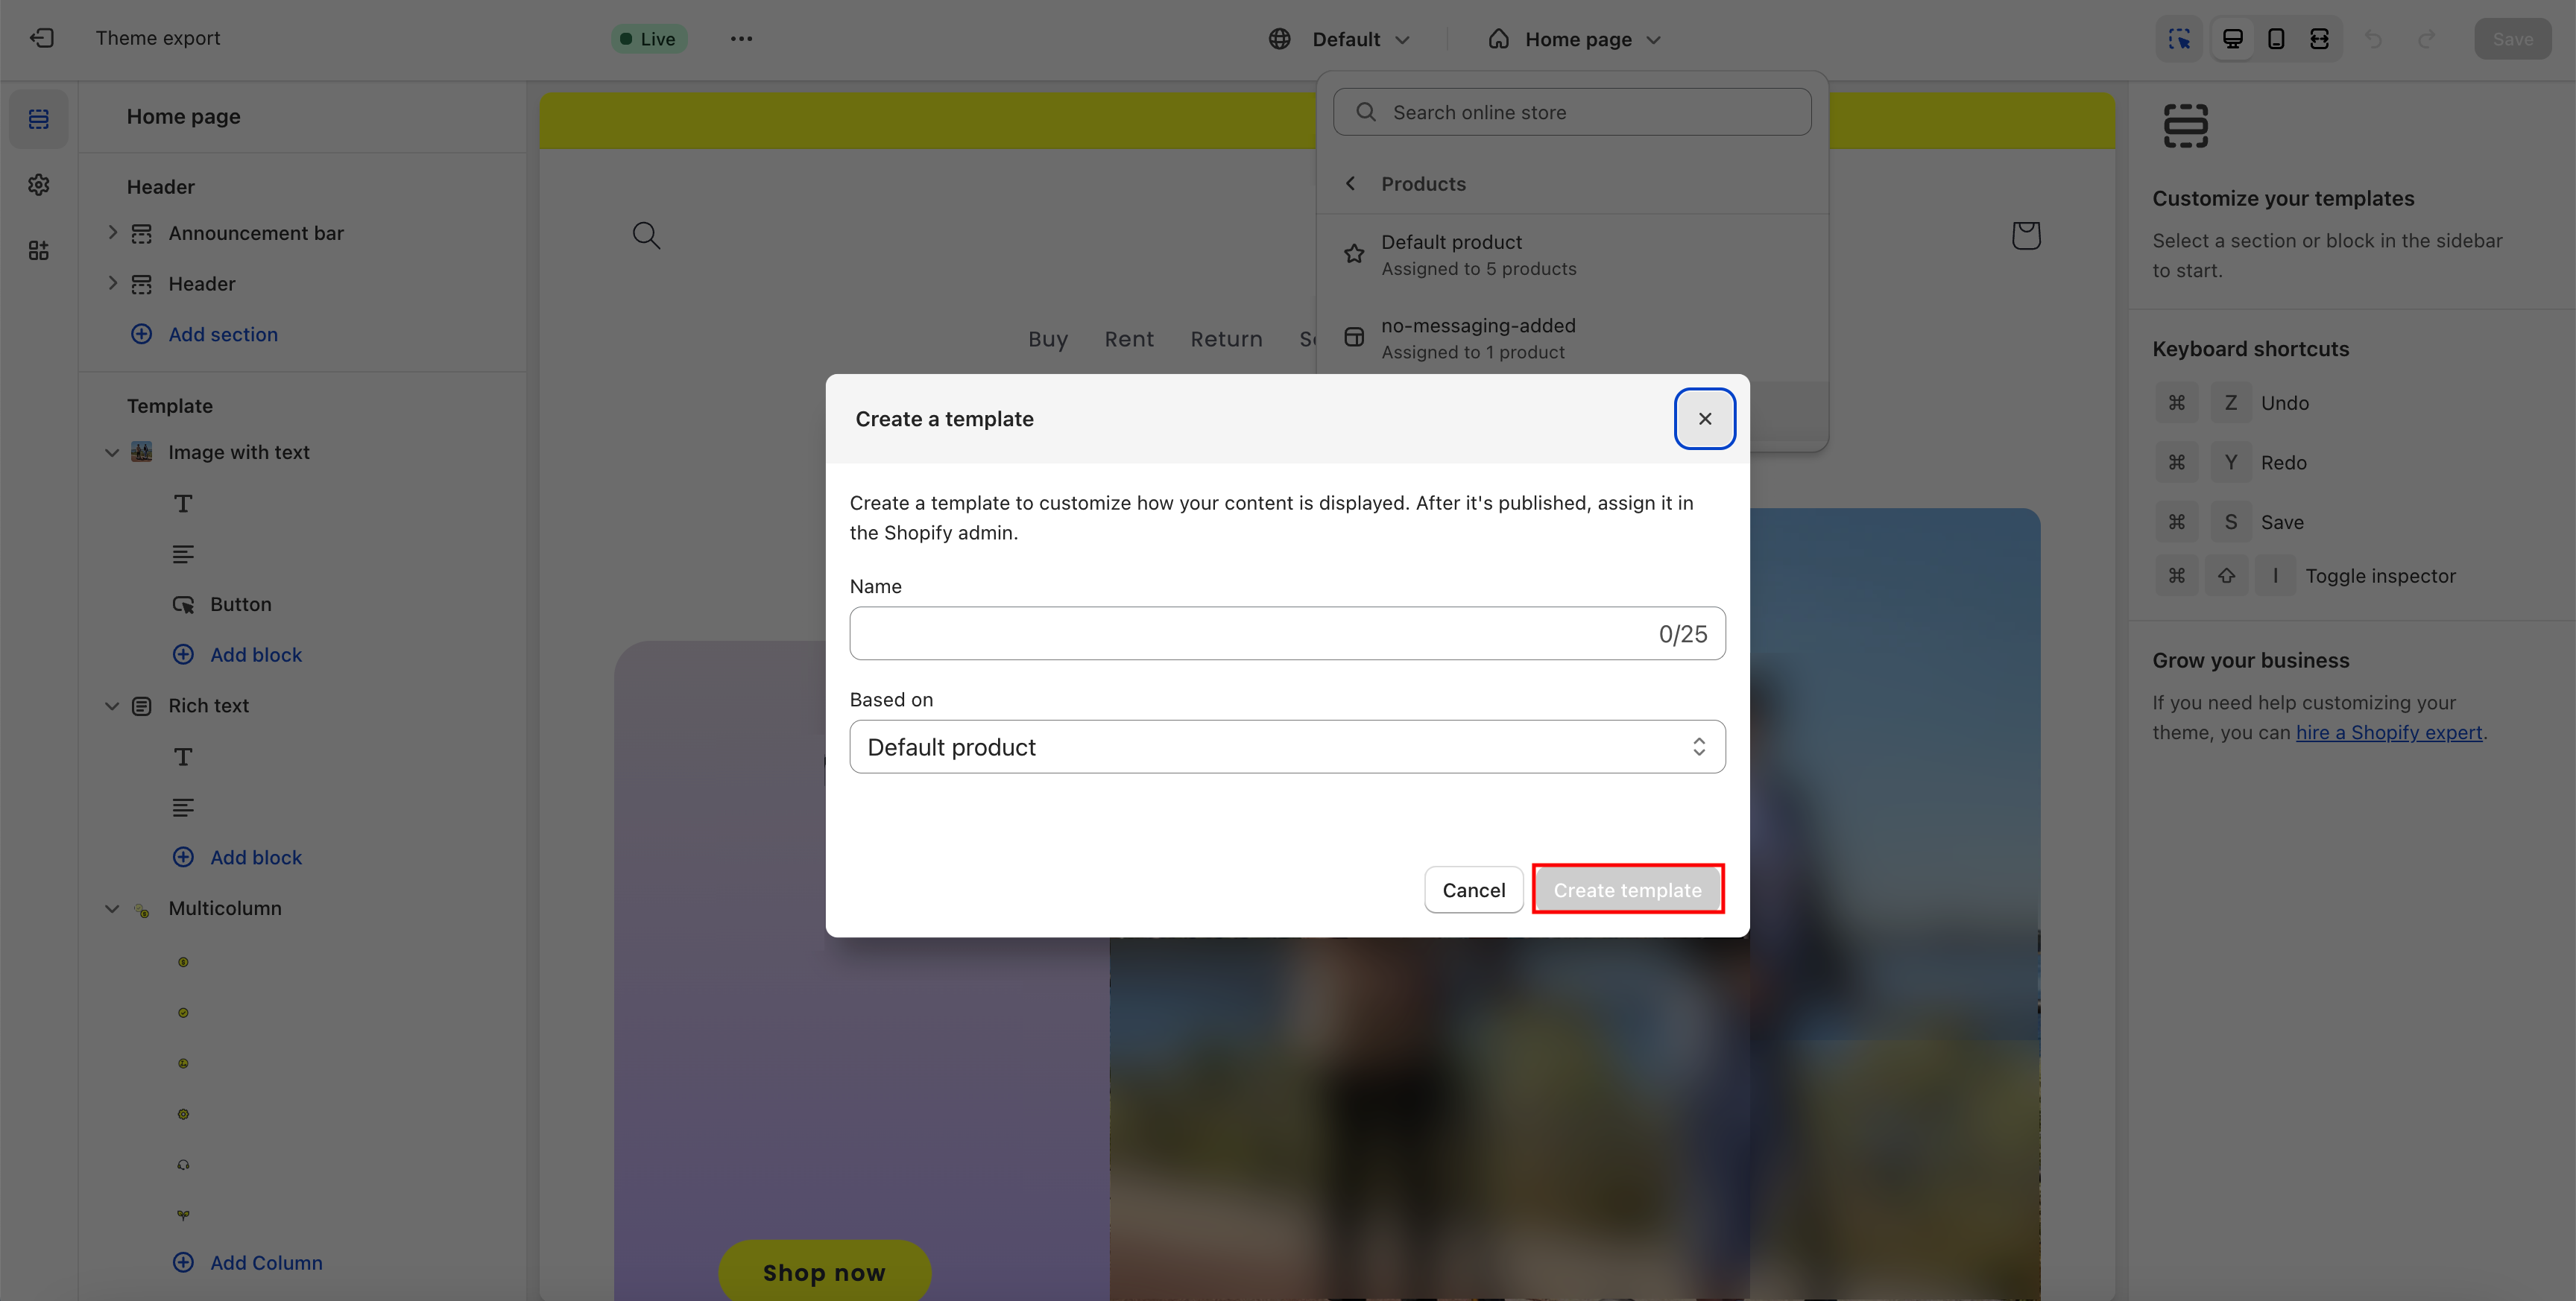
You have now created your template and named it. Your next task is to fill this template with the product, or products, that you don’t want to have Afterpay messaging.
Do the following:
-
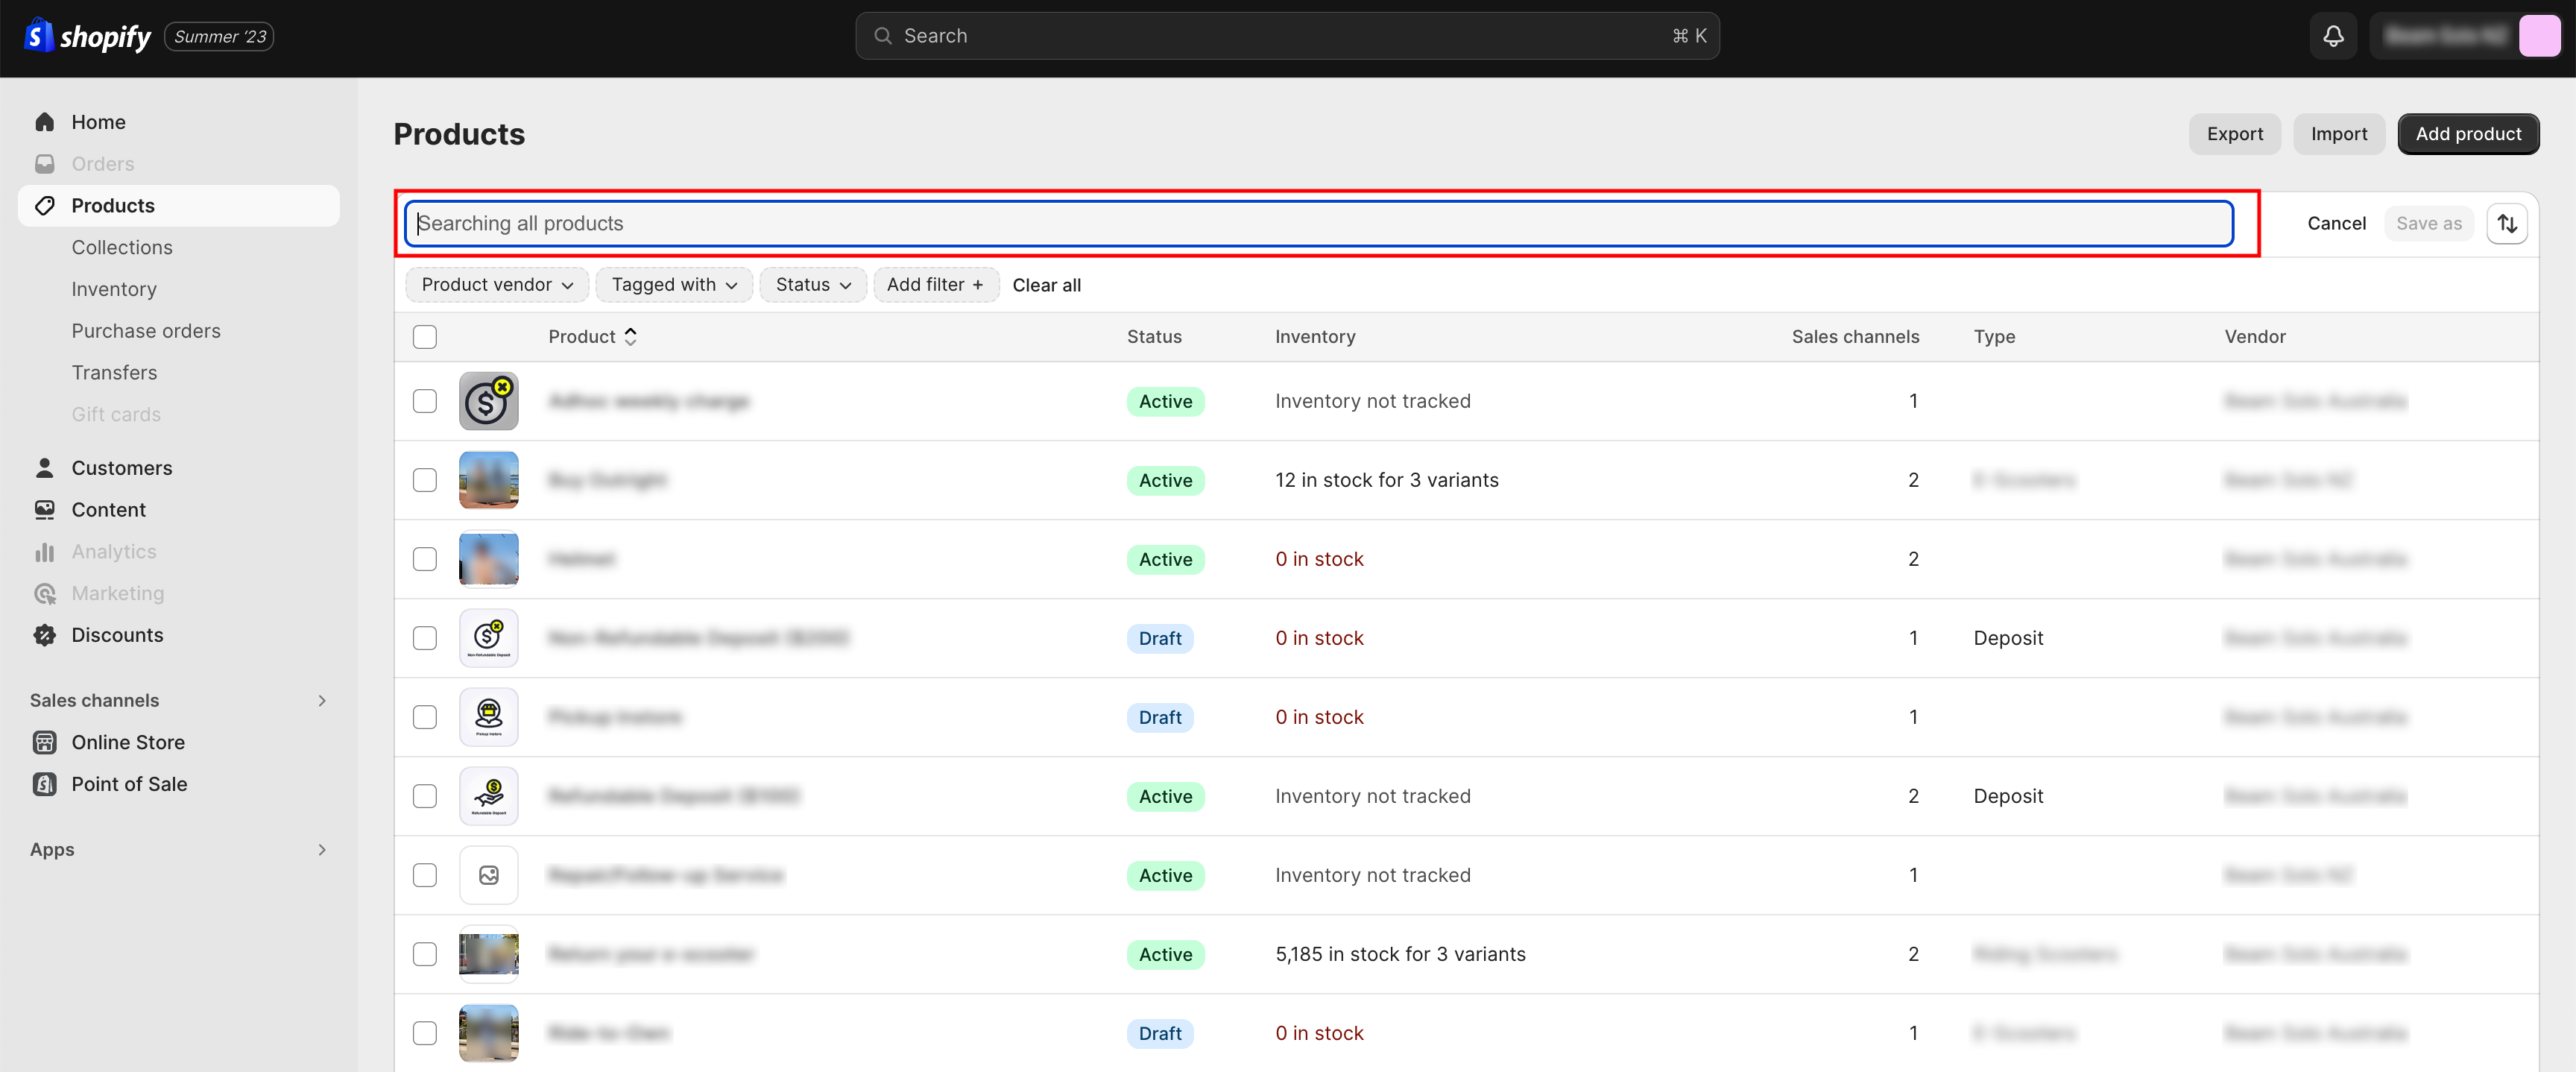
Go to Shopify admin and select Products.
-
Use the Search filter to find the product that you don’t want to associate with Afterpay messaging. You can also find this product from the list of existing products. See the picture below:
-
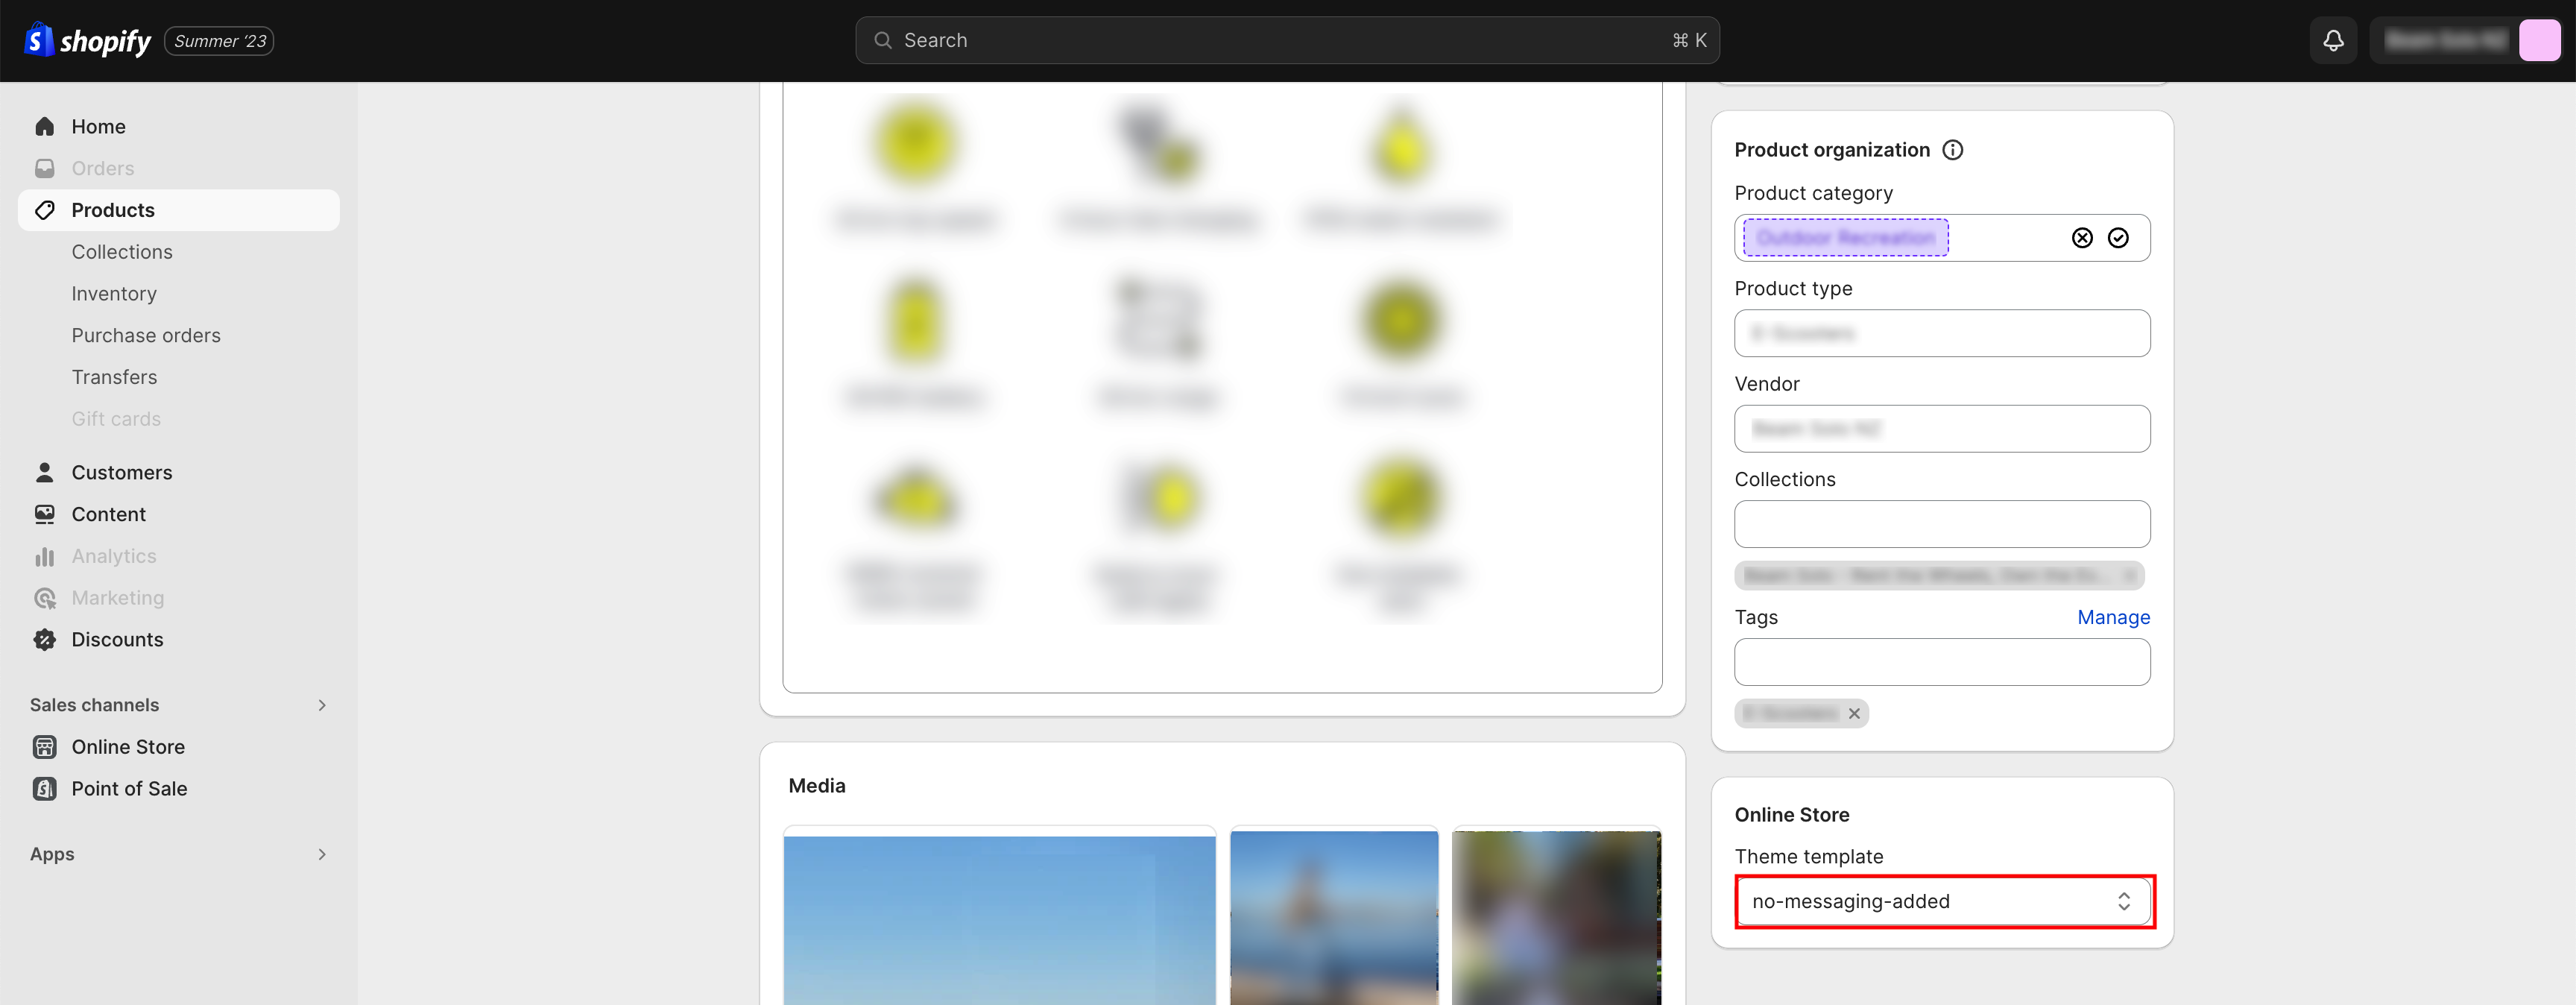
In the Online store section, open the drop-down menu and select the new theme template you created. Then apply this new template to the product. See picture below:
-
Repeat step 3 for all the products that you don’t want to associate with Afterpay messaging. Click Save when you have finished
-
Go back to On-Site Messaging App and open the Theme Editor.
-
Select the new template, then click Afterpay Messaging and delete it.
The Afterpay messaging for all the products assigned to the template is deleted.