Getting Started
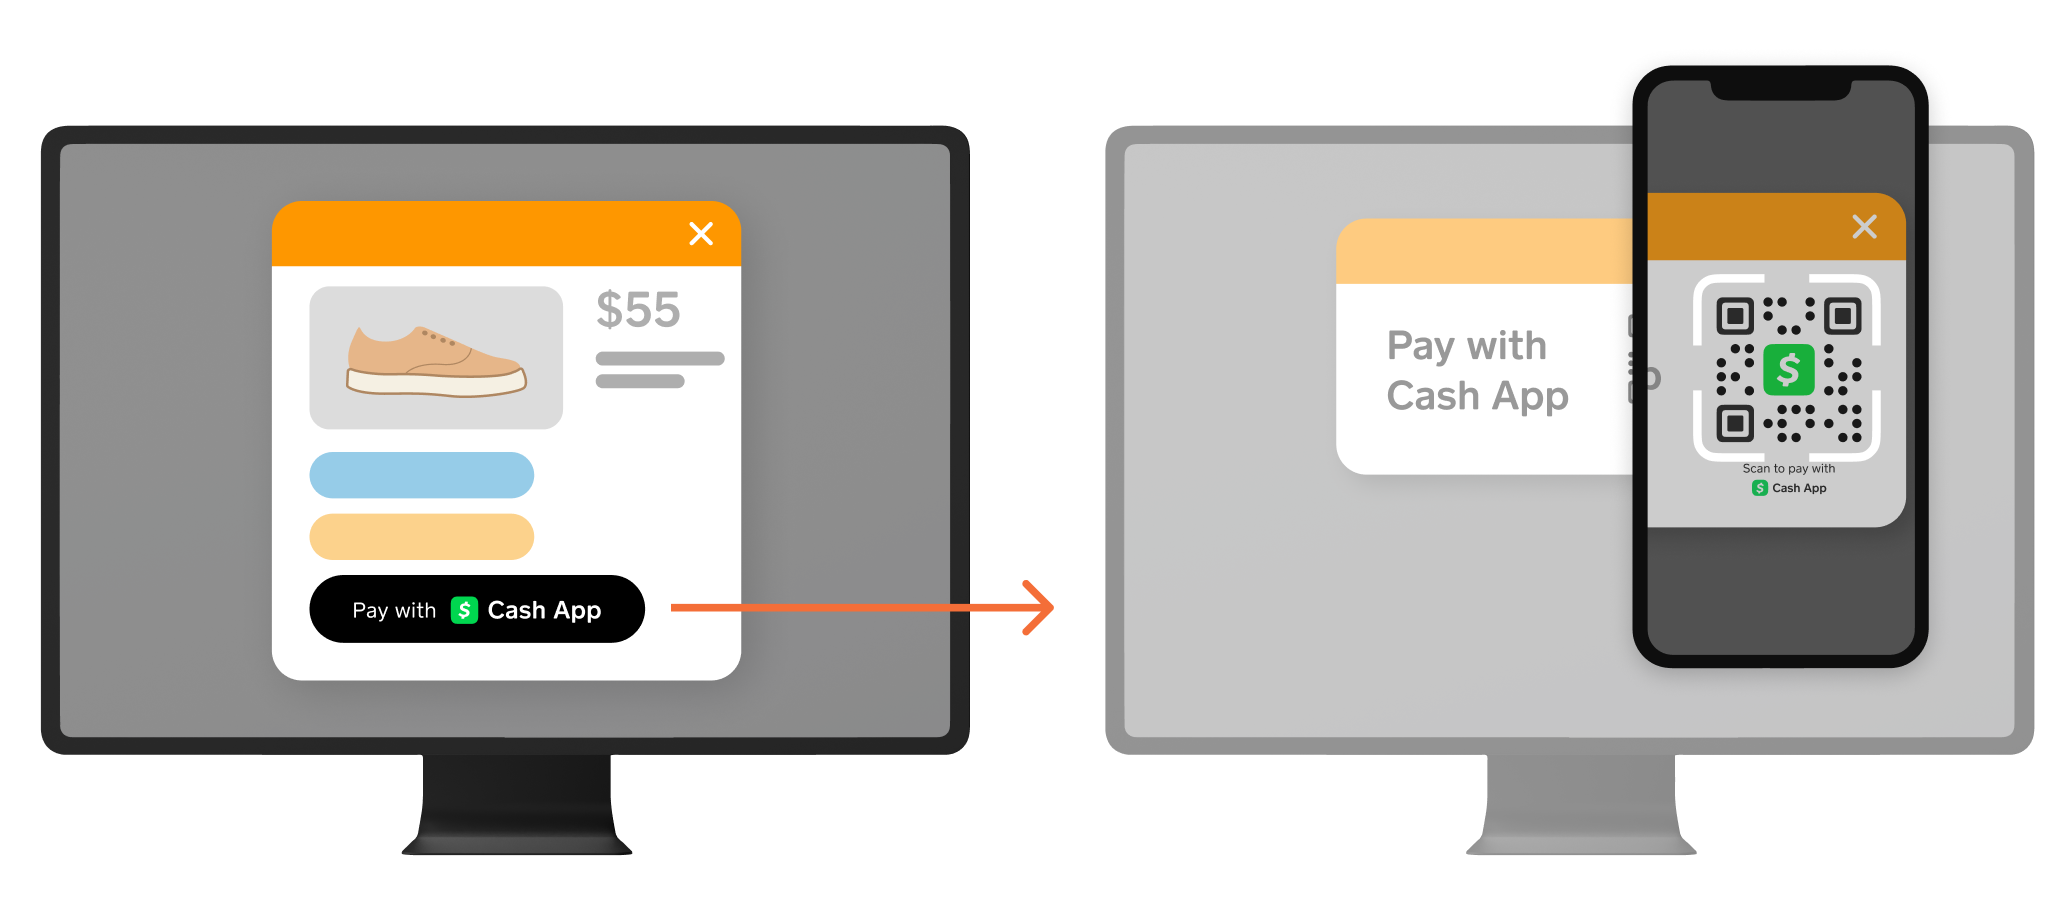
Pay Kit is a JavaScript SDK that allows you to accept Cash App Pay online. On desktop devices, a QR code is displayed to customers. When they scan it with their phone, it opens Cash App to approve the payment.
On mobile devices such as iPhone and Android phones, the customer is redirected from your checkout experience to Cash App. Customers can then approve the payment before they are redirected back to your site.
Before you start
You need a merchant identifier from the Network API to get started. We recommend that you have a working API integration.
Include the Pay Kit script
Pay Kit must be loaded from our global CDN and cannot be bundled into your application. This allows us to provide the best security and helps you avoid compliance issues.
Ready for production?
Change the script URL to https://kit.cash.app/v1/pay.js
Initialize Pay Kit
Once loaded, start Pay Kit with the same Client ID you use for API access.
Ready for production?
Remember to change clientId from your sandbox ID (i.e. CAS-CI_...) to your production ID (i.e. CA-CI_...)
Listen for events
Pay Kit emits a number of events throughout the lifecycle of a payment. One of the most important ones is CUSTOMER_REQUEST_APPROVED. This is emitted after a customer approves a one-time payment or other action. You use this data to create a payment.
Mobile Redirect
After a customer has redirected back from Cash App on mobile devices, the CUSTOMER_REQUEST_APPROVED event occurs almost immediately. It’s important to add your listener right after initializing.
Other supported events
CUSTOMER_INTERACTION
CUSTOMER_DISMISSED
CUSTOMER_REQUEST_DECLINED
CUSTOMER_REQUEST_FAILED
Render Cash App Pay
Pay Kit provides a fully managed user interface that you can customize to fit your checkout experience.
See Technical Reference to read more about customization.
Create a customer request
Merchants request to perform actions on a customer’s account. Approved actions result in grants which can be used to create payments or refunds. A merchant needs to be created before you can create a one-time payment. We also assume you have calculated the correct amount and currency for the payment.
One-time, on-file, or both one-time and on-file payment actions are supported in the customerRequest API.
You should now have a functioning integration.
Interactive code samples
On file payment
https://codepen.io/erinn-xyz/pen/OPPLKxz
One-time payment
https://codepen.io/erinn-xyz/pen/JooPgaK
Use cases
Discover all the ways you can use Pay Kit.
Rendering
Getting Started uses the simplest selector, a string. You can also render Cash App Pay to an HTML element.
Customize the Cash App Pay Button
The Cash App Pay button that is initially rendered can be customized to fit your payment experience.
Button shapes
Pay Kit provides two shapes: round (default) and semiround which has less rounded corners.
Button sizes
Pay Kit provides two sizes: medium (default) and small which is, predictably, smaller.
Button themes
Pay Kit provides two themes: dark (default) and light which has a white background.
Button widths
Pay Kit provides two widths: static (default) and full which expands to fill its container.
Advanced controls
By default, Pay Kit provides a fully managed and branded UI as you saw in the Getting Started guide. You may want advanced controls in certain situations such as validating information a customer has provided during checkout before continuing. The render method accepts a boolean manage option that allows you to control when to begin the authorization flow. When the manage option is false, a begin method will be returned for you to call when you’re ready.
Your checkout experience may want to use its own button for consistency across payment methods. When the manage option is false, you can also set the button option to false to prevent a Cash App Pay button from being rendered. You can now provide your own button and manage the authorization flow.
Custom elements
Pay Kit provides custom elements to help customize checkout experiences while making it easy to follow brand guidelines.
The <cash-app-pay-logo> element renders a Cash App Pay logo which can be used when choosing a payment method or to enhance your checkout button.
The <cash-app-pay-customer> element renders the Cash App Pay logo and a customer’s $Cashtag with automatic truncation to easily fit your layout. You can combine these advanced render options and custom elements to use your own checkout button, manage the authorization flow, and display the Cash App Pay brand before and after approval with just a few lines of JavaScript.
See Technical Reference to read more about customization.
Placing another order in a single page app
After a successful checkout, the buyer may visit another page. Then, the buyer may come back to the checkout page to order without refreshing the page. Or in another scenario, you may want to provide an upsell right after the buyer completes the checkout.
When you need to take a new order with Pay Kit, you can call restart on the Pay instance:
When restarted, Pay Kit will forget about all previous authorizations and previously charged amounts. It will also remove all managed UI (for example, the Cash App Pay button, QR code modal, or approved Cashtag).
After restarting you can start another order as usual:
We recommend that in a single page app, you should call pay.restart() whenever the buyer leaves the checkout page. When restarting at the exit of each page, if a buyer comes back to the checkout page, your initialization flow will work as usual without the buyer ever seeing the QR code for a previous customer request.
Working with customer requests
Pay Kit allows you to render independently of creating a customerRequest so you can control the authorization experience as a customer checks out. Pay Kit’s managed UI will adapt as you update your Customer Request.
All customerRequest calls require a redirectURL which is where a customer will be taken after authorizing if they begin on a mobile device such as an iPhone or Android phone. This page should initialize Pay Kit and expect a CUSTOMER_REQUEST_APPROVED event. If approved, Pay Kit will render a customer’s $Cashtag, and you will be ready to create a payment.
You may optionally specify a referenceId which can be helpful to associate a cart, checkout, or order to a payment.
One-time payments
The Getting Started guide uses the simplest action: a one-time payment. The amount should match what you intend to charge when creating a payment.
On-file payments
You can also request to store a customer’s account, allowing you to create payments on a recurring basis. The scope ID can be a client or brand account.
See On-file Payments to know more.
Update customer requests
After creating a Customer Request, you can update it as long as the customer has not begun to interact (for example, scanned a QR code or been redirected to Cash App).
Let’s start simple by updating the referenceId:
Update a one-time payment
Initially, we intended to charge the customer $23.45, but if they changed their shipping option or applied a promotion, that amount value may have changed. You can apply the new value to details and then call update:
Update an on-file payment
Initially, we scoped our on-file action to the brand level which is a best practice. If you need to perform recurring charges for all of your brands, you can assign your client ID to details and then call update:
Remove an action
Initially, we constructed details to include both a one-time payment action and on-file action, but if a customer chooses not to enable recurring payments, the set of actions should be updated. You can delete an action from details and then call update:
Unknown amounts
There may be times where amount for a one-time payment is difficult to calculate or simply unavailable. You may omit it, but be aware this may diminish the customer experience and increase the likelihood the payment is declined.
Going to production
When you use Pay Kit in production, remember to update the script URL and your Client ID.
Always load Pay Kit in a secure context (i.e. valid https).