Add an Afterpay Banner to Shopify
Banners display Afterpay information at the top of your Shopify page, as shown in the images below.
To add an Afterpay banner, you must edit your store’s code. Before proceeding, ensure that:
-
The Afterpay US payment app is already installed and running on your online store
-
You have chosen a banner that aligns with the guidelines
Recommendation
You are changing your online store’s code, so be careful. We recommend you create a duplicate page and only publish it once you have verified the changes.Steps to Add the Banner
-
Click Actions and select Edit Code from the drop-down menu.
-
Scroll down to Sections and click Add a new section.
-
In the Create a new section called field enter cash-app-afterpay-banner. The cash-app-afterpay-banner.liquid tab appears.
-
Delete the code that populates the cash-app-afterpay-banner.liquid tab.
Add the Liquid file
-
Click the link to the banner code snippet.
-
Click the Copy to Clipboard button.
-
Paste the banner code snippet into the cash-app-afterpay-banner.liquid tab.
-
Click Save.
Editing the Theme Liquid file
-
Open the
theme-liquidfile. -
Locate the line
{% sections 'header-group' %}or{% section 'header' %}. -
Add
{% section 'cash-app-afterpay-banner' %}above this line. In the example below, it is added to line 4: -
Click Save.
To verify the changes, click Preview and check for the banners appearance at the top of the page.
The images below illustrate a white, black, and green banner:


Changing the Banner Color
To change the banner color:
-
Login to your Shopify Admin and navigate to your Theme Settings page: Go to Online Store> Themes.
-
Click Customize to change the theme with the Afterpay Banner.

-
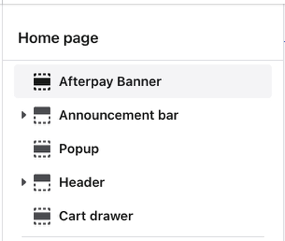
Click Afterpay Banner.
-
Click Banner color.
-
Select Black, White, or Green.

-
Click Save.
Brand Assets
For more examples and information on brand assets, including banners, see the Brand Assets section of this guide.